Arduino ESP32-CAM CCTV, IP Camera Source Code
ESP32-CAM module contains a 2MP Camera, some I/O pins and one MicroSD slot to store the images and videos. With its tiny size and 240MHz CPU is able to provide a fair quality images. This project is a source code which lets you to handle the camera and use the module’s special features.
You can either use ESP32-CAM Camera Microphone project (and it’s circuit) or ESP32-CAM Camera Only firmware (all you need to use is just a web browser).
This project contains two folders ESP32CamProgram (the Arduino source code) and also a PHP Script (For server use option).
The source code contains 7 files:
- ESP32CamProgram.ino – the main program
- AC.ino (camera and autoconnect configuration)
- AC.h (settings and configuration headerfile)
- CamSettings.h (Camera settings)
- CamCapture.ino (Capturing and storing the images)
- CamMemory.ino (Video player/images gallery)
- CamPages.ino (Internal pages)
After upload run the program in “normal mode”.
Then in case you are using ESP32-Cam, the red LED on the board would be turned on for 1 second then turns off. Then you’ll be able to see the module’s hot spot ssid via the WiFi networks in your PC or smart phone.
The default SSID is WiCardAC and the default password is 12345678. Connect and go to 192.168.4.1#settings with a web browser.
The WiFi configuration page:
In the “Modem Configuration” section, you’re able to view/edit the SSID and password of WiFi modem/router and then click on “Save” after inserting. The module would connect to the modem after about 30 seconds in case of validity of ssid and password.
- This page is also available via the DHCP IP of the module.
In the “Device Hot Spot Configuration“ section, you can set the module hotspot’s SSID and password. Also you can set a password for the internal page with Secure Link section. (Example: the secure link is ABCD and the root page would be at 192.168.4.1/ABCD/ address)
The “Hidden HotSpot” button will set the module’s hot spot as hidden hotspot and the “Disable HotSpot when is connected to the modem” would disable the module’s hotspot, when is connected to the modem.
The ESP32-CAM Configuration Section:
With “Enable Recording” button you can enable or disable the motion sensor.
After the configuration click on save button and re-start the module.
Video Streaming Page
This page is at the root address (192.168.4.1 also the router’s given IP) and works as a CCTV camera and you can see the live video.
Is case of placing a MicroSD card, with click or tapping on the stream video, the module takes a picture (the stream freezes for 2 seconds).
It you click or tap twice, the white LED of the ESP32-CAM turns on or toggles off.
- The light of scene increases images quality.
- Do not keep the white LED on for a long time.
- Better to use a suitable heatsink for the module’s regulator.
- Better to use a 5V-2A power source.
- The WiFi signal strength takes effect on the module capability and the video streams.
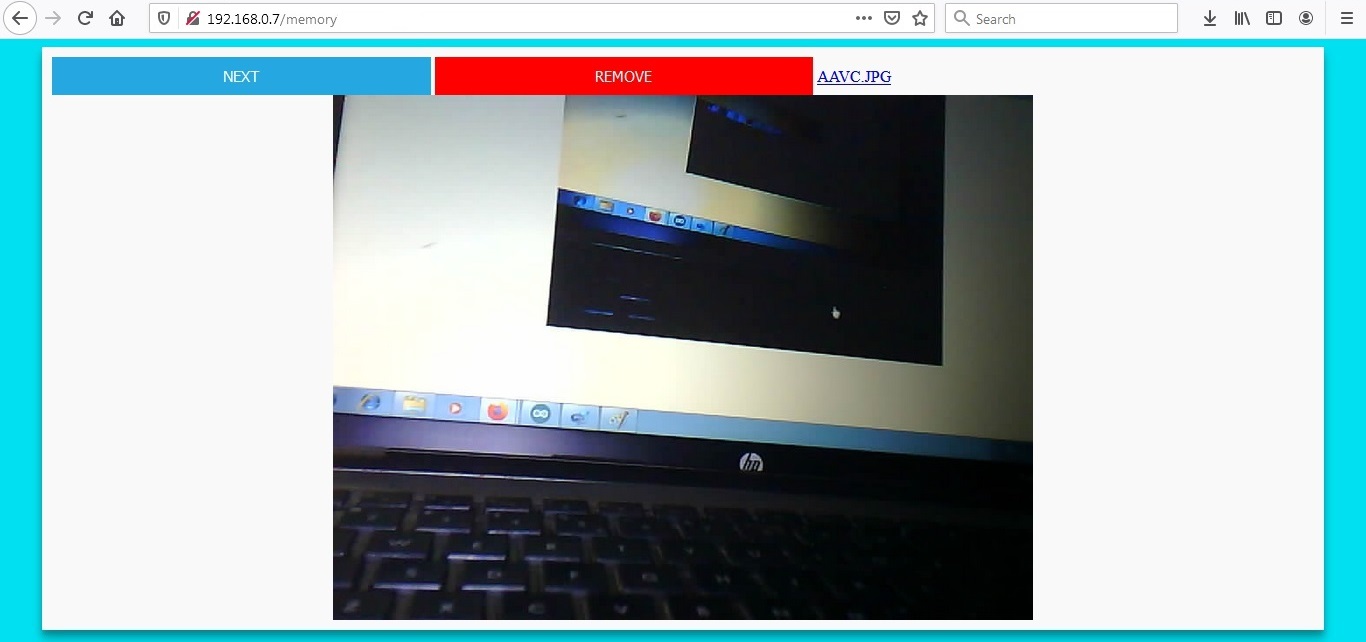
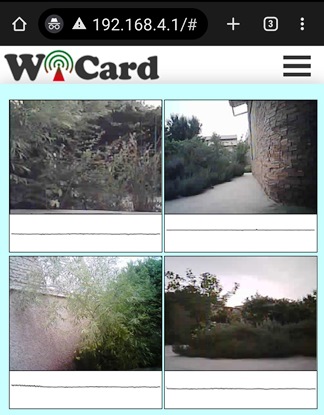
Memory Page
The memory page is located at 192.168.4.1/memory (or with the DHCP IP) and shows the memory’s images and videos.
The video’s format is .JP4 and only just the module can play them. also With tap on the image of video, the video would play and pause.
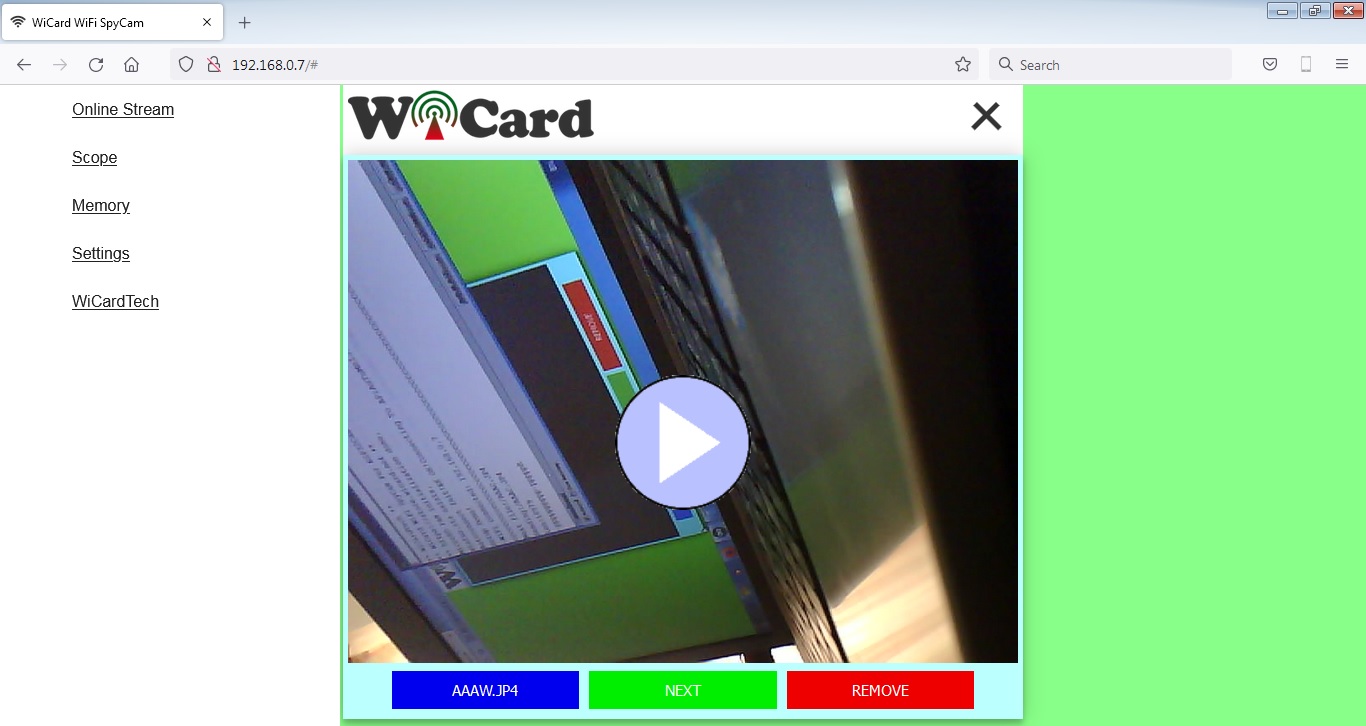
Also you can export AVI file of the recorded video and play it with VLC player
The projects and the free DEMO revision are available in the following:

Written by: M. Mahdi K. Kanan – Full stack electronics and programming engineer and the founder of WiCardTech
2 Responses
I have read so many articles on the topic of the blogger lovers but this paragraph is in fact a fastidious paragraph,
keep it up.
Greetings! Very useful advice within this post! It is the little changes that make the most significant changes.
Thanks a lot for sharing!