PHP Online Shop (For Software and Digital Data) Source Code

This php online shop project (https://wicard.net/projects) has been made by PHP web programming language and is suitable for selling software and digital data, like images, videos, online arts and etc.
Also this shop has an OTA feature and a simple and secure admin panel.
Currently the payment method is PayPal.Me link (with manually approval). The customers no need to have an account to buy the products from this shop and simply by an order code can have access to their shopping cart.
To order a customized copy of the PHP online shop, please contact us.
PHP Online Shop Installation
The whole thing that you need to know to installation is preparing the DNS and Host, copying the files on your host, importing the database and making some text edition in some files.
Step 1: Buy Web hosting and register a domain (or a subdomain).
There is a lot of host provider with different prices around the world. Choose one of them and start your online business. Just do not forget that the host must support PHP (Rev 7.0-7.4), MySQL and SSL protocol (https). Also you can use a virtual host software (e.g. wamp or xamp or etc.) to learn and test the online shop features.
Step 2: Copy the php online shop files on your host (or virtual host).
Just unzip the project file, copy all of the contents in the “public_html” folder into the “public_html” (or “www”) folder in your host.
Step 3: Go to phpMyAdmin to importing the database.
There is a “database.sql” file in the MySQL folder in the project. Search and ask your host provider about how to import the .sql file into your host database. Also register a database access with all privileges for the shop.
Step 4: Make some changes is some files.
There are some php files in the project which need to do some text edition (not programming). Also some image files need to be changed according to your business which we have explained well in the following of this document.
The following files need the edition or to be changed:
robots.txt
Replace “Your-Domain” with your domain or subdomain url address.
favicon.ico
Replace your business icon file with the same size.
images/apple-touch
The icons for your business.
images/dummy/brands
Six brand images for the main page (index page).
images/dummy/slides
Slider image files.
and some other files…
Admin Panel
Login into the admin panel.
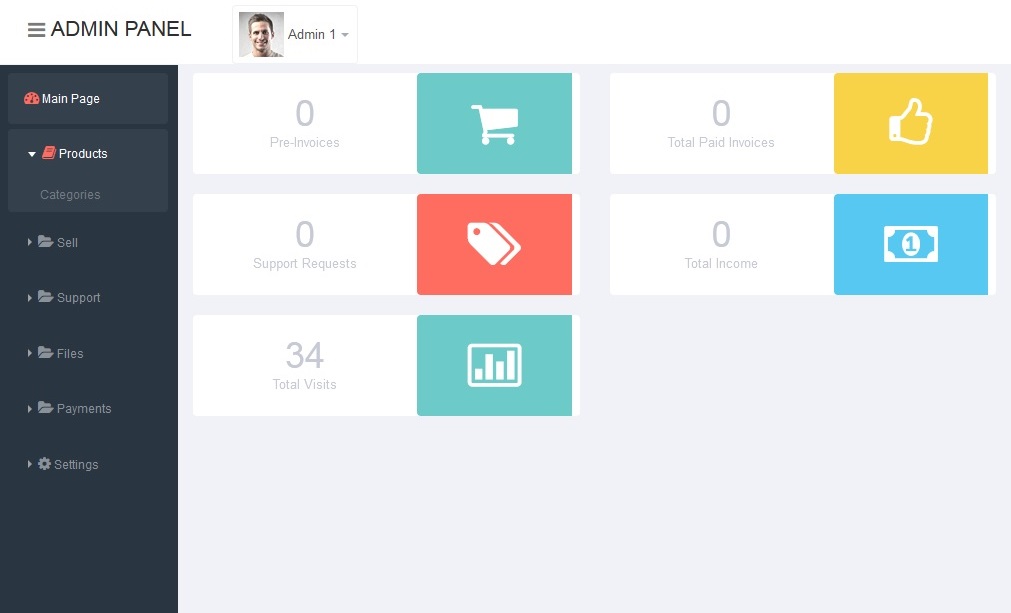
There is a sidebar which navigates you to the different parts of the admin’s panel. Also there are quick access links for the pre-invoices, invoices, the pending support tickets and a list of the inserted PayPal transaction IDs.
Go to Products>Categories to set the main categories and sub-categories of the products.
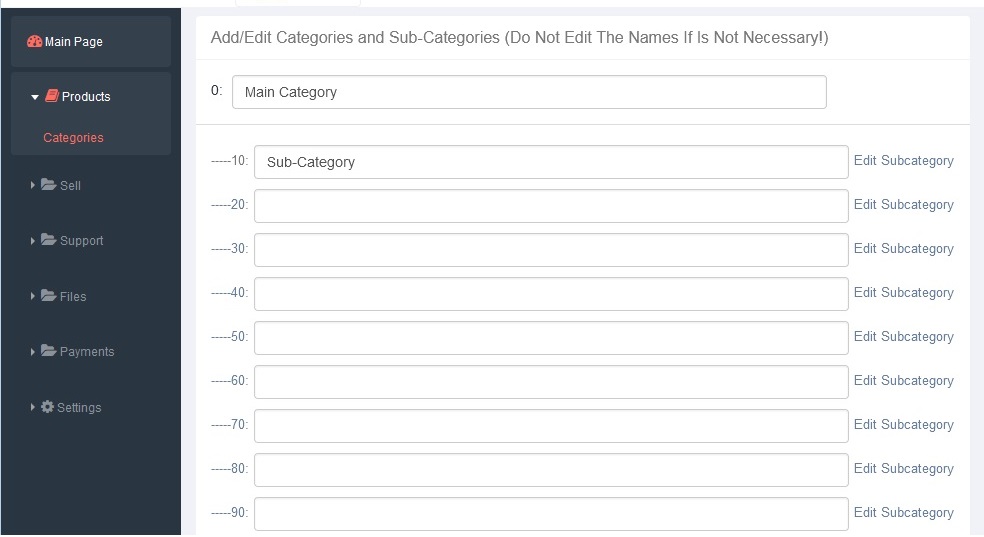
After the edition, click on the “Add/Edit Categories and Sub-Categories” button (under the categories text boxes).
- Try to do not make changes in the categories or sub-categories name after the first edition, because the link of categories will change and will decrease the rank of your site in search engines.
- You must insert at least one Category, otherwise the website will not be shown.
- Insert two or more main category.
- You can set maximum 10 Main Category and 10 Sub-Category for each Main Categories
By click on the “Edit Subcategory”, you will navigate to the sub-category edition page. Then by click on “Add Group” you can add a group of products.
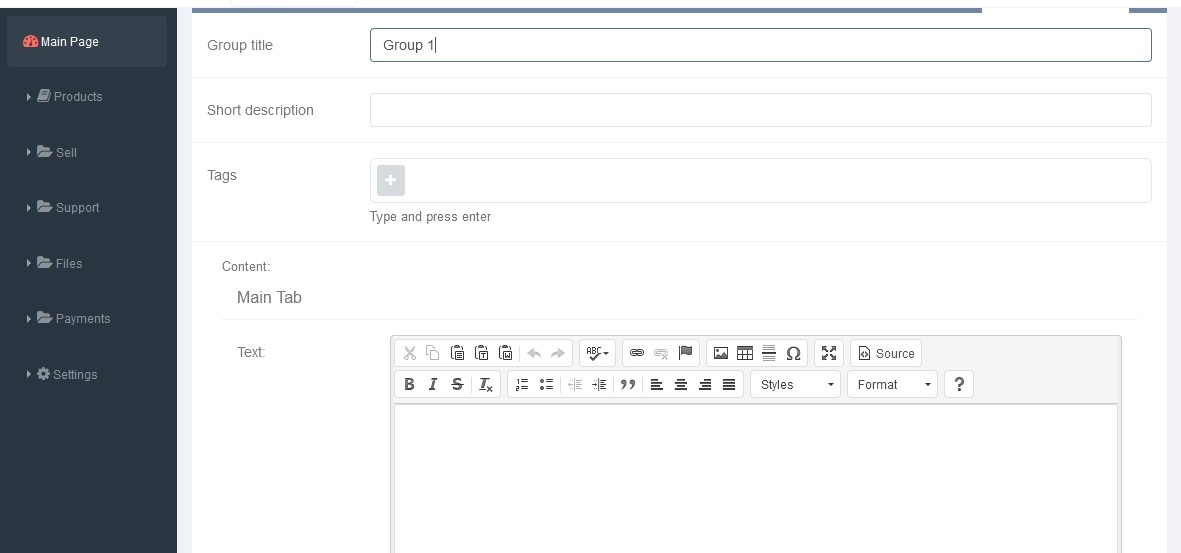
Use your main “keyword” as the first word in the group title and use the main keyword in the short description, tags and the text.
Also you can add two more tabs for the product details, manual and etc.
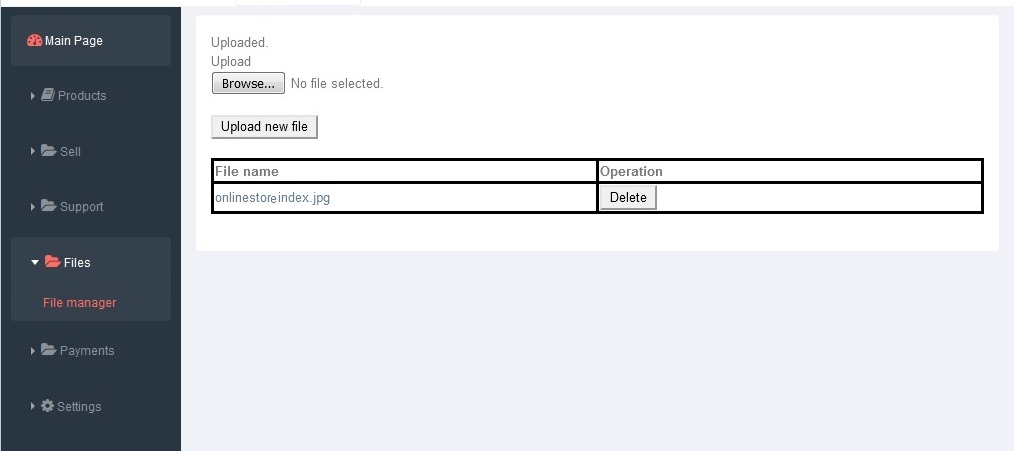
If you click and open “Files>File Manger” in a new tab, you can upload in-text images and place in the text area.
After filling the text boxes and etc. Click on the “Send” button to adding the group. Then you will navigate to the sub-category page again.
Add Product
By click on the “Add a product to this group”, you can add a product.
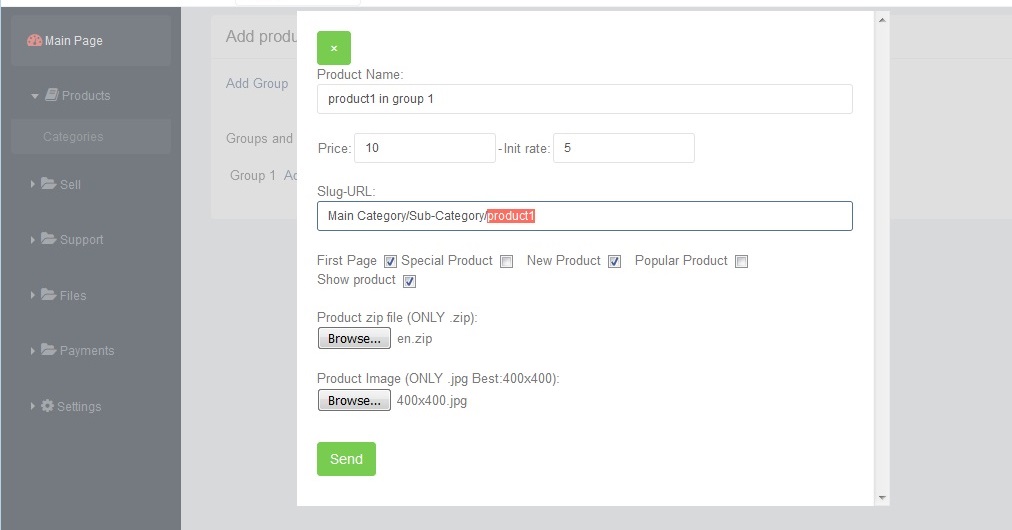
At the end of the “Slug URL”, add a short name for the product as its main URL. If uncheck “Show product” the product will not be shown in the shop.
- Try to do not change the category part of the URL, just add a few words at the end of default Slug-URL.
- The Slug URLs must be unique.
Select a zip file for the product and a .jpg file as the product preview image. Then click on “Send” and the product will be added to the group.
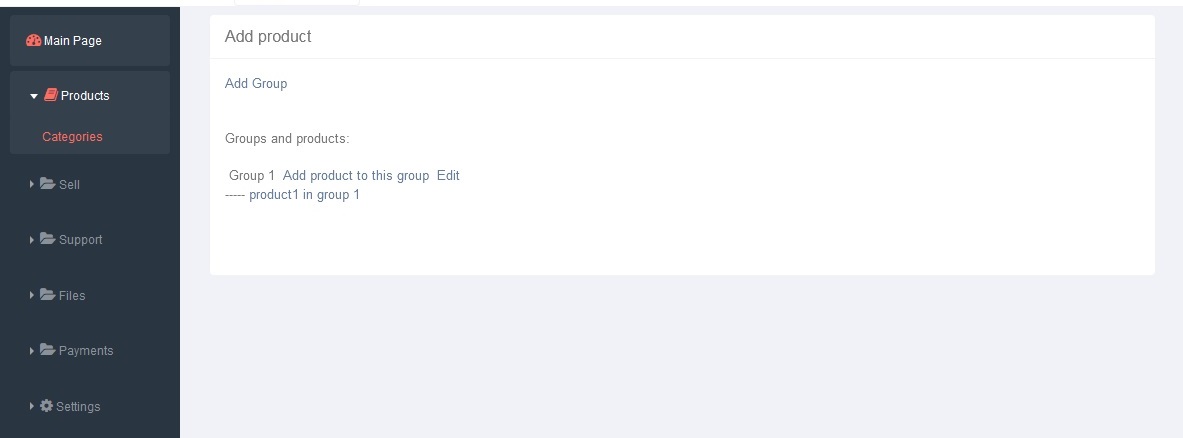
- You can add multiple product in a group, for example you have designed a 3d car in two models, with 2 doors and 4 doors and want to sell as two different product. So add both of the models in one group and the customer will able to see both in a page.
With click on Edit (in front of the group’s name) you can edit the group and by click on the product name, you can edit the product name and etc. or upload a new file.
To completing the purchases, go to “Sell>Pre-Invoices” and click on the pre-invoice that you want to approve and insert the transaction ID and the date in the form blew of the list.
Also you can add the PayPal transaction ID’s then the customers can add manually to the “Orders” section to approve their payment.
To answer to the support tickets go to “Support>New requests”.
And when a new revision is available, go to “Settings>Update”, update the shop and receive the new features and fixes bugs.

Written by: M. Mahdi K. Kanan – Full stack electronics and programming engineer and the founder of WiCardTech
